Thursday, December 29, 2011

The Year in Review - a blog hop

Hi Everyone,
Do you believe it, another year has come and gone. There is so much creativity out here in blog land, and I was invited by Karin over at  With an "i" for Paper to participate in a review of 2011 and so can you. Just pick out your favorite cards from the past year, and post them on your blog.  Then come over to Karin's blog at With an "i" for Paper and pop your name in the Linky spot and let the oooing and aahhing begin. All Karin asks is that you limit the number of cards you choose to 12 (That's one for each month of the year) and post a photo of the button below at the top of your post and link back to With an "i" for Paper.


Before you get started, I have 2 prizes to award to two lucky commenters. The 1st prize will be a stamp set and the 2nd prize will be 2 - 1/2oz. jars of glitter (2 different colors), so don't forget to leave a comment to be eligible. If you comment, I will enter your name in a drawing and the drawing will take place Jan 1, 2012. Good luck to all!!


So now sit for a minute or two and lets review my year. I have 12 cards for you to check out. Believe me, this has been a hard task, to choose just 12 cards. These are really in no particular order.
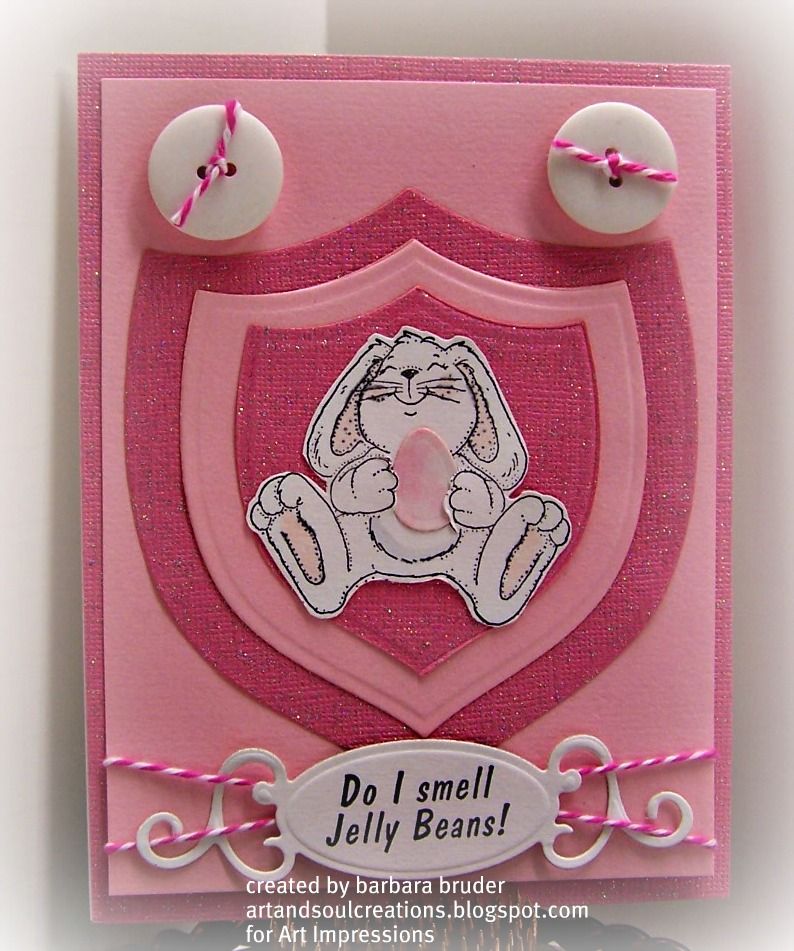
#1.


Stamps by Art Impressions

#2 

Stamps by Art Impressions 


#3

Images by Art Impressions

#4


 #5

Stamps by Art Impressions


#6
 Stamps by ippity Stamps


#7 

Stamps by ippity Stamps

#8


#9
 Images by Sparkle N Sprinkle

#10


#11

#12 


Thanks Karin, for hosting this hop, it was fun to review all my card for 2011. 
I hope you had a nice visit here, leave a comment to be eligible for a prize and then hop back to Karin's blog, With an "i" for Paper, to visit the others who have signed up to participate in The Year in Review. 

I am looking forward to 2012 and it will be interesting to see what the new year has in store for all of us. Hope you have fun and Happy New Year.


Wednesday, December 28, 2011

Love

Hi Everyone,
Well Christmas is over and Hanukkah is winding down so now I am focusing on Valentines Day cards.I love the reds and pinks of the cards and with that in mind I set out to see what I had in my stash that I could use to make this card.


The heart is a die cut and I stamped it with the text you find on the mini love background I2531. And what is Valentines Day without roses. I used 2 different images  Long Stemmed Rose M2005 and Rose Bud M2006. The word Love is the perfect word for the card front and it's stamp E2548. Add a little ribbon and some cool corners and here is your Valentine's Day card for your sweetie.

The New Year is right around the corner so I am wishing you a Happy New Year and please stay safe. I will see you next year. 

Don't forget I am reviewing 12 cards from 2011 tomorrow here on my blog so please stop by and there will be others that are partaking in this blog hop so there is sure to be fun and prizes. Oh prizes, Hmmm..... I wonder what I can give away that will be a wonderful prize. Let me see...................

Guess you will have to stop in tomorrow to find out all the particulars.

Barbara

Tuesday, December 27, 2011

Blog Hop coming

Hi Everyone
I hope that you all had a wonderful Christmas. I know I sure did.


Today I am cooking green beans and when they're done they will taste like down home green beans. I start out with a can Allen's Italian green beans and I use a big can. I put them a large pot and add 1 large quartered onion and a ham bone. (We eat a lot of ham and when we are done I freeze the ham bone and use it in soup or green beans.) I cook the green beans on the stove top about 7 hours. I start out getting the beans to boil, then turn the burner down pretty low, just barely bubbling and then put the lid on and let them  cook. I stir them once in a while and after 5-7 hours they are done. And they are so good. Most of the time I cook them at night. I will get them ready about 10p.m. and let them gently simmer all night while I sleep. They are done when I get up and boy are they yummy.

OK now I guess I have you hungry now, don't I. Well its almost dinner time.


Oh..... I just want to let you know I will be participating in a blog hop over at With an "i" For Paper this Thursday Dec 29. The theme will be A Year In Review. My post will spotlight 12 of my favorite cards from this past year. So stop back Thursday to see which cards I will be showing.

Tomorrow I will be posting a card from Art Impressions so I hope  you stop in for that as well.

That is it for right now

Saturday, December 24, 2011

Friday, December 23, 2011

Boxes of Cherry Bombs

Hi Everyone,
Well are you done?? Are you still wrapping?? Are you just doing the last minute things?? Me too.

Last night I made some "Cherry Bombs". I know, you are asking what are "cherry bombs"? And just to let you know,these do not go KaBoom. And they are so easy to make, and if you are done with everything else you could still make them. No lie!!! OK here goes, I used those small cupcake/muffin tins, some small cupcake papers, a brownie mix and maraschino cherries.  Line the tins with the cupcake papers. Make the brownie mix according to the box. Fill the cupcake papers (less than 1 Tbsp per paper) and then add 1 cherry to the center of the batter and bake for about 15 min. at 350. Don't over cook and as soon as a tooth pick comes out clean, pull them out of the oven. These are so yummy. They make about 3 doz. and I made these to take to my friends at the bank branch close to my house and to my friend Robin, tomorrow nite.

I want to show you the boxes I made to take those cherry bombs over to the bank employees.


Here are the 3 boxes that are going to the bank and each will be filled with the brownies. To make the boxes I used white CS and after I cut these out, I sprayed them with Denim ColorWash. Next, I over sprayed with Pearl Glimmer Mist. Then I cut and adhered the snowflakes to the 4 sides of the boxes and these are done.


Here are the close ups of the boxes.
  

These turned out so nice. OK now I am going to fill these with Cherry Bombs.

Well, have a great evening and take a deep breath and try to stay stress free. It's almost over.Santa will be here tomorrow nite!!!


Thursday, December 22, 2011

Let it Snow

Hi Everyone,
Well I thought you'd like to see the card that I designed for this weeks Art Impressions Weekly Challenge. The theme this week, is die cuts and punches. After looking over my stash I decided to use the cute snowman in the Mouthfuls selection. The set number is CS4003Mouthfuls-Snowman and even though there is a stamp in the set that represents the twig arms, I decided to use real twigs. It turned out so cute.

I used a Sizzix swirl die cut 656187 and Oh.... those purple snowflakes..... they are from punch 312 from Just Imagine Crafts/Kreations.The large purple snowflake in back of the snowman was made from a punch and a template. I added a green ribbon to be a scarf. And that snow bank was made using sticker paper and glitter. 

Well that is it for today, Saturday evening is Christmas Eve and I am sure we will all be awaiting the arrival of Santa. Stop in after Christmas and see what's coming up next here at Art and Soul. I have some projects that are far far behind and I will be working on those next week to finish those up and get them mailed out.

In the meantime, have a Merry Christmas and a safe one too.


Wednesday, December 21, 2011

Thanks

Hi Everyone
Since Christmas is really almost here I thought I would focus on a Thanks card. We will all probably need a few of these to thank all the wonderful people that will be giving us gifts.


I used the bench that is in set 3545 In My Garden, which is in the watercolor series. This is project 7 set 2. I also used the Thanks stamp E464. I love the font on this stamp, it's really elegant.

Please stop in tomorrow, if time permits, to check out my take on the next Art Impressions Weekly Challenge theme.

Have a great  day,

Tuesday, December 20, 2011

A Box and a Lid and Packages

Hi Everyone,
Yesterday I mentioned I had bought a box with no lid at Target, in the $1.00 section. Well here is what I got and what I fixed for the lid. It turned out pretty cute.

(Where was my brain. LOL I didn't think to take a pic of the box before I added the lid so you will see the gift tag on the side in some of the pic's.)

Here is the box, I just thought this was adorable and knew I could use it this season. But alas NO LID.


Here is the lid I designed. I had a cute Sizzix die from a few years ago and thought it would be perfect on the lid.


Here is a shot of the box with the lid. Doesn't that die cut snowman look great with the ones on the box??!!


I tucked the back part of the lid to the inside and I think it gives it a clean look and it is now hinged.

Here is the box with the lid up.


This turned out to be a easy project and my shimmer paper matches that purple on the box pretty close.

Here are a few of the gifts that I got wrapped Sunday. There is another bag that got changed to a holiday bag and boxes and bows and .......


well that is enough for now. I will be back tomorrow with my usual Wednesday post showing another Art Impressions creation. I still have a few gifts to wrap and I need to make money holders, so, I am still busy and those elves haven't showed up yet to help me. Dang, I wonder when they will finally get here. LOL

Hope to see you tomorrow.


Monday, December 19, 2011

The Sunday Wrap

Hi Everyone,
Well I spent the better part of my Sunday getting gifts wrapped. I just had to show you something I redid to change it from a takeout bag to a bag that now has a Christmas gift in it.

I'm sure this has happened to us all at one time or another. You buy a gift. It doesn't come in a box and you are stuck trying to figure a way to have this gift make a really beautiful presentation.

OK, here is what I decided to start with. A take out bag from a local restaurant.

This bag is big. It's 12" across X 15 1/2" tall and when it is open it is 9" front to back. Yep it's big!!! So I knew I could use scrap book paper to dress it up and hide the restaurant label on the front and back.


Next I decided to add a bag bonnet to the top, just to give it some added pizzazz. The die I have is from AccuCut and the bonnet is really for a regular size gift bag. However I decided to fold it the opposite way to give me the width I needed for this huge bag. So as I cut the paper out, I kept moving the cut mat so the slit would not be cut. After I cut  the bonnet out I folded it in half long ways and made the slit myself.

Here is the bonnet.
Oh, I used a snowflake embossing folder and added that dimension to the bonnet. And here is the finished project.

 I can't show the bag with the gift in it because the person getting this, reads my blog and she might see it. All I will say is, the gift is so big it hangs out of this big bag and you can tell what the gift is. This bag turned out really nice looking and you'd never know it came from a restaurant. LOL (Maybe I should have used a garbage liner bag. It would have been big enough, however, that wouldn't have any personality. LOL)

I also had to make a lid for a box that came with no lid. Got the box at Target in the $1.00 section and it is cute, but no lid. Stop in tomorrow for a quick peek at how I fixed that, and, to see all the other gifts all wrapped up, and ready for Santa to deliver them.

Counting today, 6 more shopping days. See you tomorrow.

Sunday, December 18, 2011

Believe

Hi Everyone,
WOW!!! Christmas is a week from today!!! You know, we always know when Christmas will be here, and it seems it sneaks up on us each and every year. At least it does that to me. Today I am wrapping my gifts. I hate to wrap gifts just a few hours before the recipient opens the gift so I am getting that chore done today. I shouldn't call it a chore, I love to wrap. Always have, even when I was a kid. And I have always loved to make bows too.

In the meantime I have a cute card for you today. I used a stamp from Sparkle N Sprinkle. This stamp is in set 385, its stamp 3048-385E Santa Believe. Every stamp in this set is a perfect stamp for that last minute holiday card you need to make. These will look great on tags too.


I used the perfect punch for Christmas cards/projects from Just Imagine Crafts/Kreaxions. It's the Holly Punch 914. This has become my Christmas go to punch this year. And after this week I will be putting this one away for a while. I mentioned I like to make bows, I used the E-Z BowZ Maker on this card. In fact I use this bow maker on almost all the bows that I have on my cards.

I will be back with a few more posts this week so if you need a break, stop back in for a few minutes to see what I will have for you. Have a great week and try to stay stress free!!


Thursday, December 15, 2011

Jelly Beans

Hi Everyone,
I know it's definitely not Easter yet, however I just felt this little guy calling me. So, I went ahead and used him on this card. The card I designed is also showing on the Art Impressions blog for this week's weekly challenge. The theme this week is to use buttons. So, here is what I came up with:


Isn't he cute. He is a nice break from all the hustle and bustle of this season. Speaking of the season, are you ready for Christmas? No? Me neither!! I have gifts to wrap and I need to see if I am done or need to buy something last minute.


Here are the supplies I used on this card:
Art Impressions Stamps - Giant Bunny G1076, Smell Jelly Beans C1677
Spellbinders Die (For Creatoia by Xyron) Badge
Spellbinders Dies - Ribbon Tags Trio Three S4-323, Nested Eggs S4-264
Twine
Buttons
Pink Glitter CS, Pink CS

OK it's time to get back to the Christmas season, so, have fun and don't get too stressed!!

See you soon

Wednesday, December 14, 2011

Joy

Hi Everyone,
Today is my regular post day over at Art Impressions. I used an OH SO CUTE stamp and it's one of the cutest stamps for the Christmas season that I have in my stash. And of course it's from Art Impressions, so I thought I'd share this with you all.

Supplies used:
Art Impressions Stamps - Shepherd and Sheep  - J745 , Joy - G2164
Copic Markers - E15, E33, E04, YR000, C-0, C-2
Spica Glitter Pens - Chocolate, Garnet
Inka Gold  - Gold, Silver
Card stock - Dark Blue, Blue Shimmer, Yellow/Gold Shimmer, White
Spellbinders Fancy Tags - S4-235
Embossing Folder
Inks - India Black, Fresco - Roman Midnight

Stop back tomorrow for the next Art Impressions weekly challenge. Hope to see you then.


Tuesday, December 13, 2011

Gift Tags

Hi Everyone,
I have a quick post to share with you. It's a tag I designed for my tag exchange that takes place tonite. I meet with a great group of ladies each month and tonite we are meeting for dinner and we are exchanging tags. We've done this for a few years.


Supplies used:
Trees Stamp - Just for Fun
Pine cone and lighter green sprig - Tim Holtz Sizzix Tattered Pine cone
Flourish - Tim Holtz Sizzix Elegant Flourishes
Darker green sprigs - Martha Stewart Punch
Poinsettia - Spellbinders Die
Ink - Fresco - Giovanni's Garden
Card Stock - Red CS, Green CS, Brown designer paper, Med. Green CS, Yellow CS
Gold Accents - Inka Gold by Viva, Pearl Pen by Viva
Tag Die - Accucut
Ribbon

This is such an easy tag to make, hope you try to use some or all of the elements I used.

Well have a great day and I will see you soon

Barbara

Thursday, December 8, 2011

Heated Pearls

Hi Everyone,
This week over at Art Impressions, the weekly challenge theme is......a new technique to myself or to the design team.

Well I don't know how new this is to the team members, but I decided to use this technique and to show you all. This is a very easy look to achieve, you just need Elmer's Glue and Pearl Ex or Perfect Pearls or any shimmery powder and a stipple brush.

First spread glue all over CS panel and then sprinkle the glue with 2-3 colors of powder. Next stipple the glue and powder all over the panel. Now, get your heat tool out and heat it. It will bubble up, and that is the look you are trying to achieve.


Here is a closer pic of the actual technique.

card.

I applied the glue to black CS and it looks so much better than using a white CS.I thought this background would be a great accent to the Dahlia Flower stamped image I chose for this card.

Supplies used:
PearlEx - Gold, Copper
Paper/Card stock - Black CS, Copper CS, Deep Red Shimmer CS
Ink - India Ink Black
Coloring used on Flower - Metallic Cream Chalks (Pebbles)
Sizzix  Die - Tim Holtz Alterations Flourishes
Ribbon

Well, I hope you like the look, and you've got to try this, because this technique is so easy do. Hmmm....I wonder what this would look like with a white pearl and a silver powder, and a Christmas stamped image, maybe a snowman or a snowy scene.

See you all soon,


Wednesday, December 7, 2011

Envelope Art

Hi Everyone,
How about taking a short break from worrying about Christmas presents and decorating and all the other things that goes with this holiday season.

Art Impressions has stamps that can help you decorate the front of the envelope. Just think of everyone who would get to enjoy your art. The mail clerks and the mail man and of course the person who the envelope is addressed to.


Wouldn't you love to send this out, or better yet receive this?? I added a few dots to add additional interest to the envelope. Don't forget, don't use glitter. Jams up those electronic machines and is a no-no when sending mail to the service persons. But I have used the Spica glitter pens from Copic to add that sparkle we love to add to the images, with not a problem.(But I would not use the Spica pen on mail to a service person.)

The stamp set used on this envelope is from the Country EA2 set UM4061.
Click here to check out all the stamps in the Envelope Art series.There are quite a few and I am sure you'll find something that suits your needs.

Tomorrow, Art Impressions will be introducing the next weekly challenge, so try to stop in to see what the theme is.

Thanks for stopping by today.

Barbara